How to create a SCREENPRINT
PAPER Stencil
Simple shapes can be cut from thin ‘chip shop’ paper placed onto the screen. The paper acts as a barrier and paint only passes through the shapes that have been cut away. This technique is great for doing block shapes but it's not possible to do very fine detail.
As the ink is repeatedly pulled through the screen the paper begins to disintegrate, so you will only be able to create a limited number of prints with one stencil.
Paper stencil
Printed design
EXPOSURE SCREENPRINT
After creating a Photoshop file of my design as a black silhouette, I send the file to a local print studio. They print my silhouetted design onto acetate and attach this to a screen which is coated with a photographic chemical solution (photo emulsion). When the screen is exposed to light (inside an exposure unit), my design acts as a barrier to the emulsion, but the emulsion coats the rest of the screen. Once ready, the acetate is removed and the screen is ready to use.
This is essentially another way of creating a stencil because when I pull paint through the mesh, it will not pass through any part of the screen covered in emulsion.
Exposure screenprinting can handle very fine detail which is not possible with a paper stencil. There is also no degradation of the stencil, so it’s possible to create large print runs of one design.
However, if I have a design with many different colour layers, I expose every layer onto a separate screen. This can become very costly, so if I can create the other layers from a paper stencil then the combination of these two printing techniques works perfectly for me.
The screen on the left has no emulsion exposed on to it, so paint can pass through the yellow mesh.
The screen on the right has emulsion covering the mesh (the dark colour) but paint will only pass through the area of mesh not covered in emulsion (my design - the yellow area).
MIXING THE PAINT
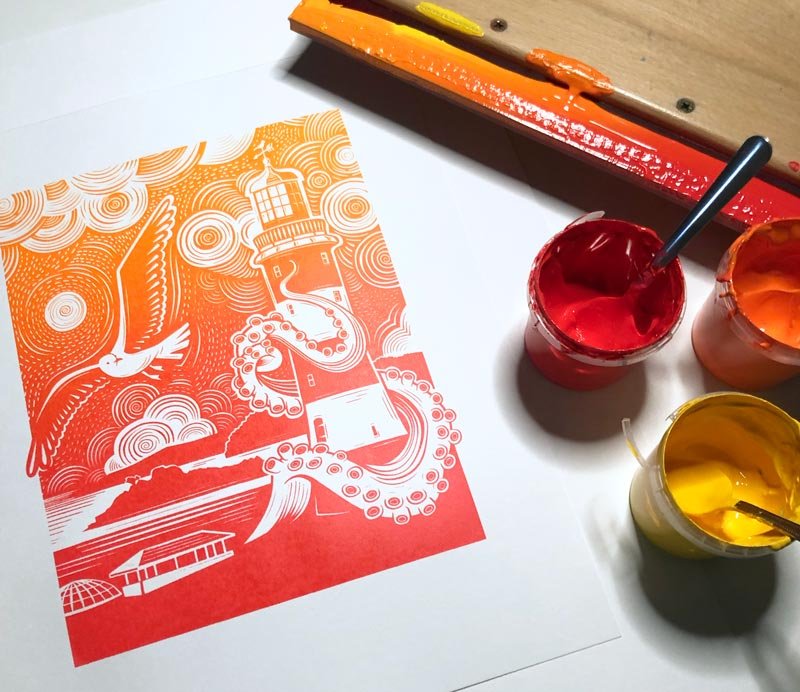
Acrylic paint is mixed together with printing medium which helps to prevent the paint from drying into the screen. Additional medium can be added to make the paint less opaque which is a good technique if you want to layer transparent layers on top of each other.
Applying colour
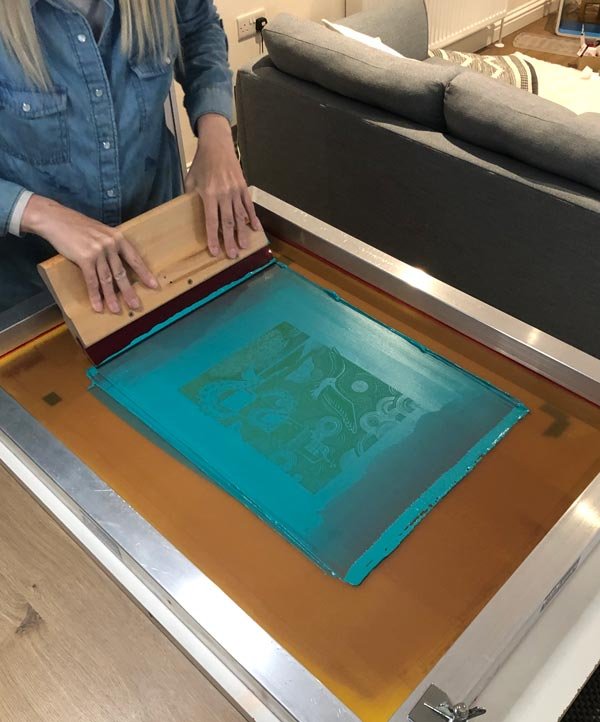
The paint is ‘pulled’ through the screen with a ‘squeegee’. This pushes the colour through the mesh and onto the paper underneath. It’s important to work quickly between creating each print to ensure the paint doesn’t dry into the screen (this will eventually happen even with printing medium added so you still need to be speedy).
Once the first layer is dry, the process is repeated if there is more than one layer of colour.
THE PRINT REVEALED
Once the paint has been pulled through the mesh a couple of times, the screen is lifted and the print is revealed.
-
LINOCUTS
How I create my linocut prints
-
GALLERY
A collection of my work
-

SHOP
Purchase my original prints


