How to create a LINOCUT
PLANNING THE DESIGN
However you choose to transfer your design, it must be drawn in reverse onto the lino so that it prints the correct way onto the paper. Some like to draw straight onto the lino block itself, but I like to plan my designs thoroughly first so I can be sure which parts I want to carve and which parts to leave intact. I start with a pencil sketch which I then refine in a computer design program. When complete, I reverse the design and print it out, using it as a guide to trace my design onto the lino block with carbon paper.
THE RIGHT TOOLS
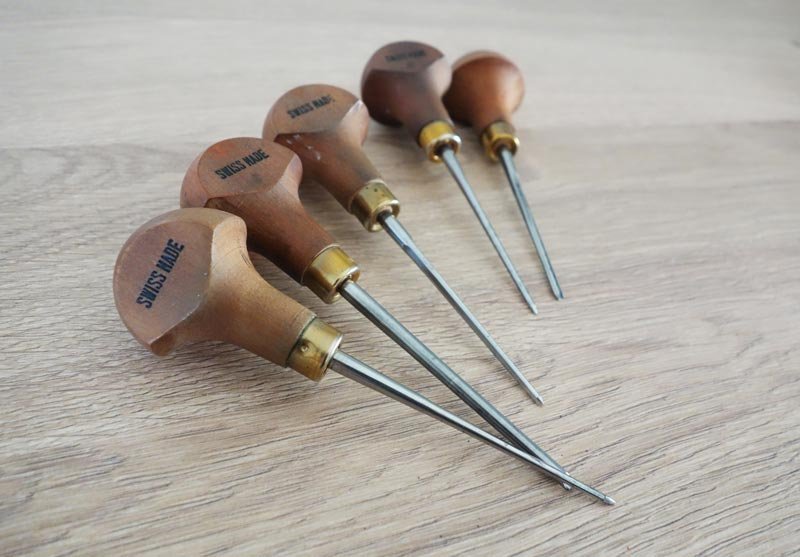
Basic linocut tools limit the ability to create intricate designs. I use ‘Pfeil’ carving tools because they come in different sizes with various rounded and V-shaped edges. They require constant maintenance to keep sharp, but they produce much greater detail and more exciting marks than basic tools.
CARVING THE DESIGN
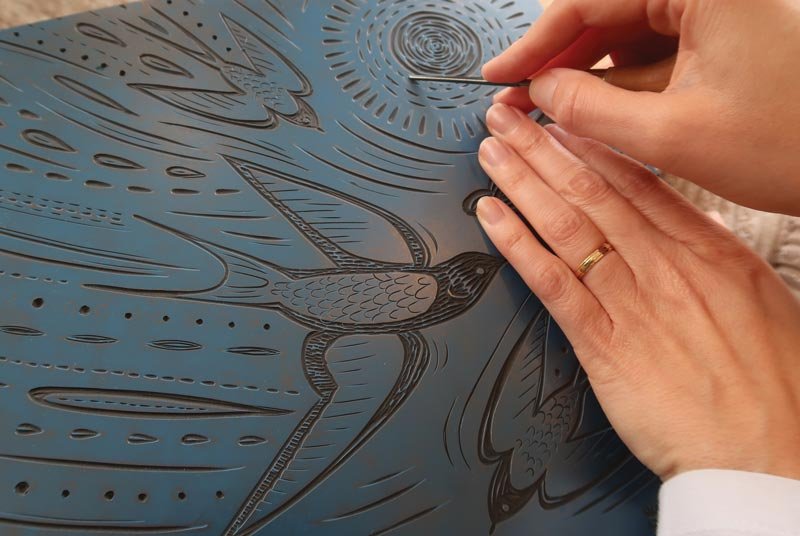
It’s important to let your tools create unexpected marks and not follow your design too rigidly. The beauty of linocut lies in the serendipities of carving.
There are several different types of lino block. Many prefer ‘softcut’ as it is easier to use, but I find it hard to see where I have already carved. With the ‘Japanese vinyl’ that I use, it’s harder and blunts tools quickly, but as you carve it reveals a black layer underneath. I find this differentiation in colour most helpful, especially in more complex designs.
MIXING THE INK
Until recently I used ‘Caligo Safewash inks’ because they are water-based and easier to clean off my lino block and tools. However, I’m starting to use oil-based inks which have a better application and colour variety (gold ink!)
I mix my colours into a glass plate, rolling out a patch of ink with my Japanese roller (this type of soft roller is a must - others do not compare).
ROLLING THE INK
Too little ink and your print will be patchy, too much and your design will lose the detail as it fills in from over-inking. It takes time and practice to get the balance right on your lino block.
CHOOSING THE PAPER
Many of my older prints use a 300gsm white Snowden cartridge paper which is acid-free (this is important as it means your paper should not yellow with time) and it has a smooth surface (easier to get clean prints).
I am now starting to experiment with specialist printmaking papers which have a textured surface and lovely, ragged edges. Combined with the superiority of the oil-based inks that I am now using, these papers really add something special to my finished artwork.
300gsm Snowden cartridge paper has a smooth finish
PRINTING
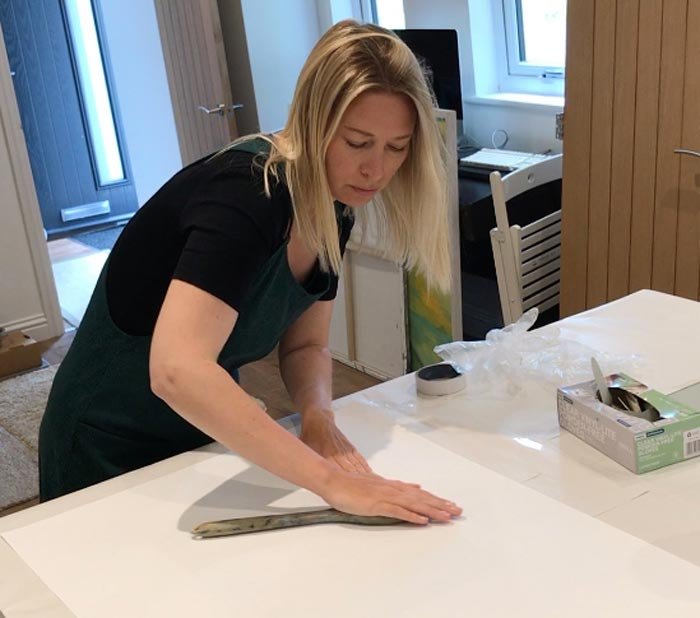
I have two printing techniques. One is to place a sheet of paper on top of the lino block and press very hard with the back of a wooden spoon or baren. This is very time-consuming and tiring on the arms as you apply a lot of pressure. However, it means you can focus on individual areas less likely to pick up the ink (areas with little carving tend not to catch the ink so well).
The other is to use a printing press. These vary in size, price and capability. I have recently acquired a medium-sized press which can sit on a worktop and isn’t too heavy if you need to move it. As I print from home, this is ideal for my needs. It certainly makes the process quicker and less tiring! It prints best on thin, smooth paper, whereas thicker paper lends itself better to pressing with a baren.
Using a wooden spoon to apply pressure
Watch me using my printing press (Instagram)
REVEALING THE PRINT
This is the fun part!
I gently peel back the corner of the paper to check how well the ink has transferred. If necessary, I place the corner back down and apply more pressure. Sometimes, this helps to transfer the ink, but if I did not have enough ink on the lino block to begin with, then there is not much that can be done to save it.
However, when I get the right amount of ink and the right amount of pressure, peeling away my perfect print from the block is most satisfying!
-
SCREENPRINTS
How I create my screenprints
-
GALLERY
A collection of my work
-

SHOP
Purchase my original prints


